
When building a new home these days, most people will want to use the most convenient and modern parts and materials to make their home as comfortable as possible. One area that has made many advances over the past decades is the HVAC (Heating Ventilation and Air Conditioning). Part of having a comfortable home is to heat it during the cold winter months and to keep it cool during the heat of the summer. One of the best ways to accomplish this, I feel, is to have a central heating and air conditioning system. When building a home and installing this type of system, many different steps will have to be taken.
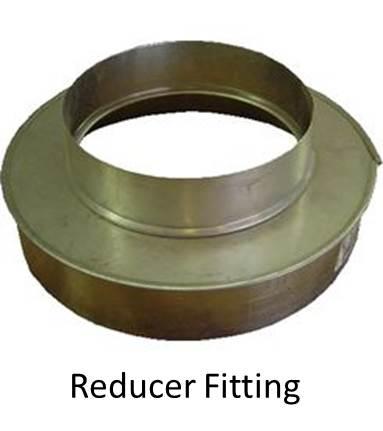
A central heating and air system requires duct work to run throughout the home. Depending on the size of the home will depend on the size of duct pipe that you will need to use. As the system starts to go further from the source of the heat/air, the pipe will need to be smaller in these areas. This means that some sort of reducer will be needed to adapter the smaller pipe into the larger pipe that comes off of the system. When reducing vent pipe, it may not be as simple as reducing plastic or other metal pipe (such as copper or galvanized pipe, for example). This part of the construction will take a little bit more work, but will pay off in the long run.
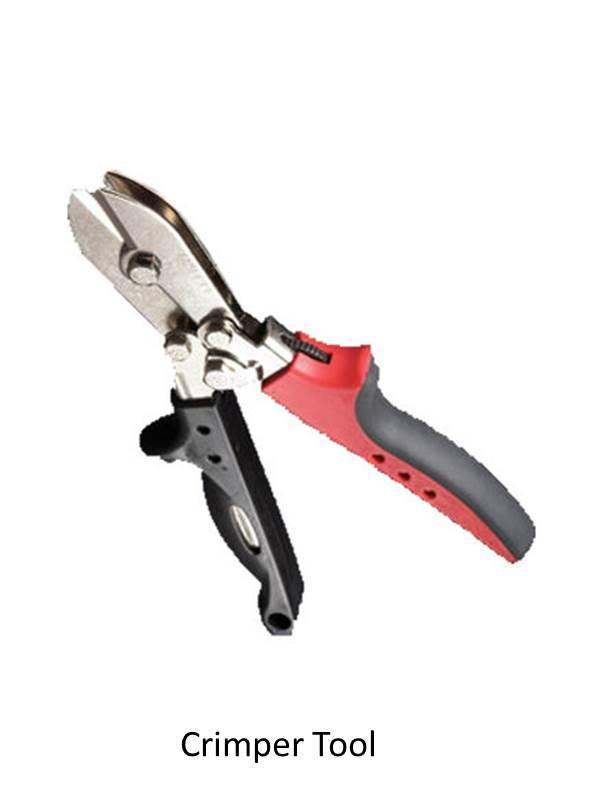
When placing a bell reducer on a pipe, the end where the fitting will be placed will need to be sized down a little before the fitting will go on. This can be done using a crimping tool designed for HVAC (not to be confused with a crimping tool for pex crimp rings, etc.) Crimping tools come in a three blade model and a five blade model. The blades alternate so that when the tool is used on the pipe, it will make an indentation that will help it to become smaller. The crimping process will need to be repeated around the pipe until the fitting will go on. Once you have the bigger pipe down to the correct size and the fitting connected, it is time to get the smaller pipe ready.
Before lifting the next pipe into place, it may be a good idea to take the reducer fitting off of the larger pipe so that the other end can be crimped to fit the smaller pipe that will be attached. Once the reducer fits, take it off of the smaller pipe and put it back on the larger pipe before connecting the smaller pipe on again. This can help avoid some frustration and save your arms from becoming tired too fast while working. Once both pipes are connected and appear to be secured in reducer fitting, use the appropriate duct material to seal the piping together. It is important, after everything is done, to turn on the system and check for leaks around these and other connections. For a visual representation of this, click on this link.